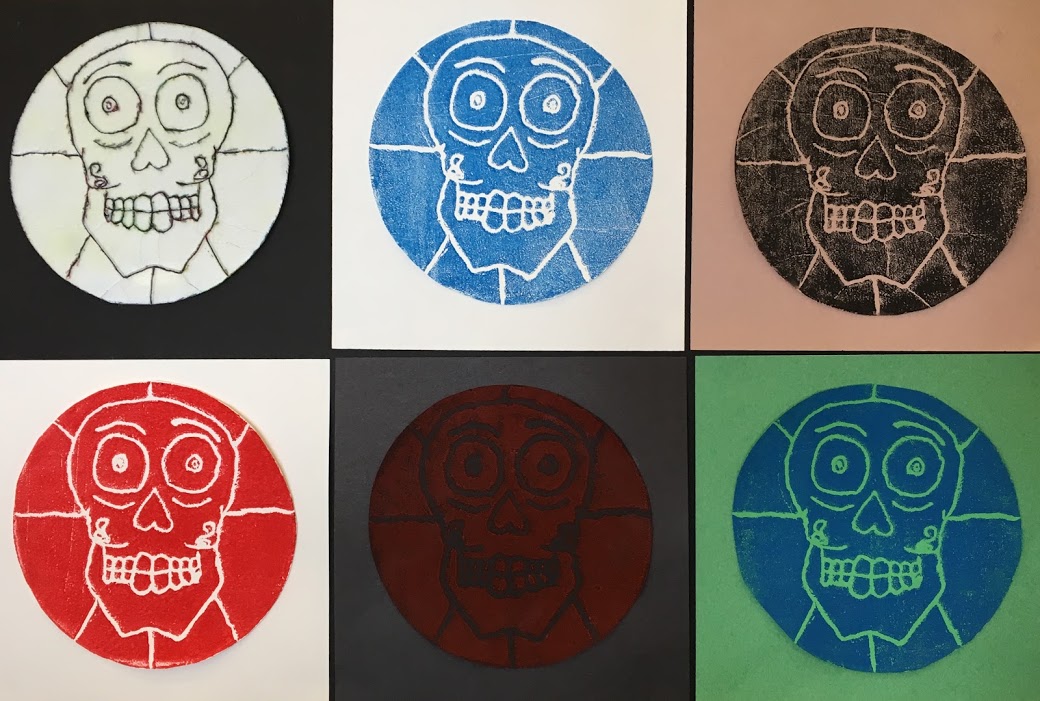
Printmaking with styrofoam
lesson plan
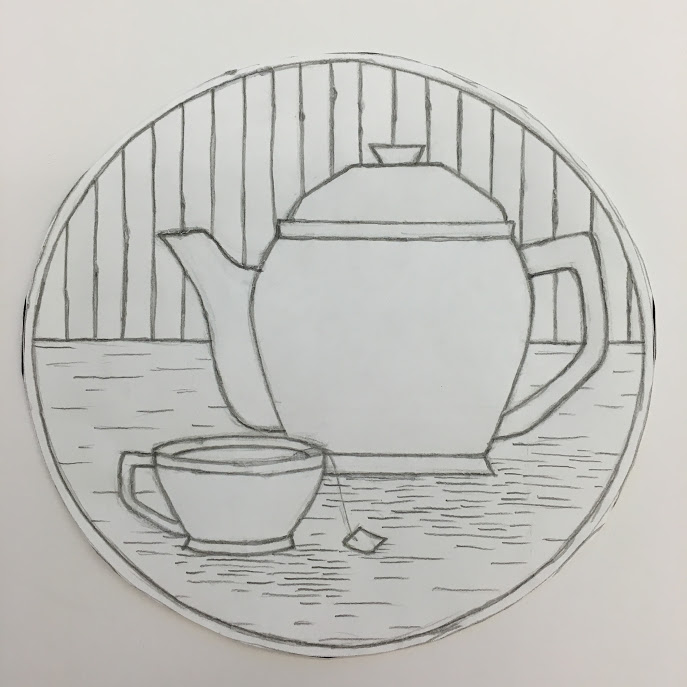
sketch handout
|
|
|
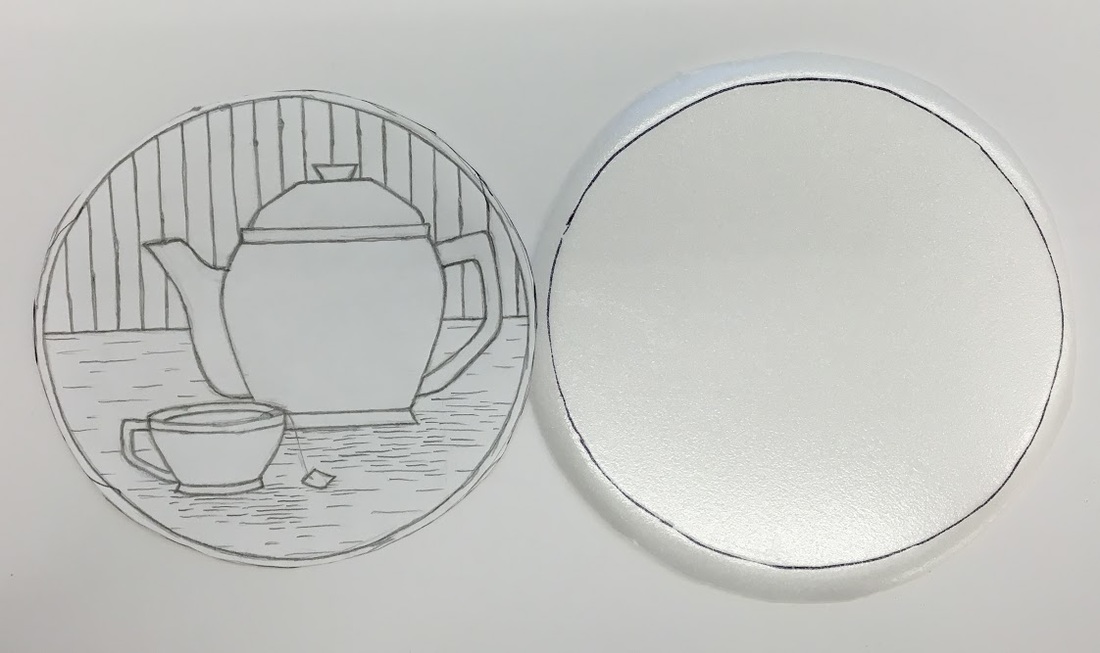
1. Transferring your drawing to the plate
|
|
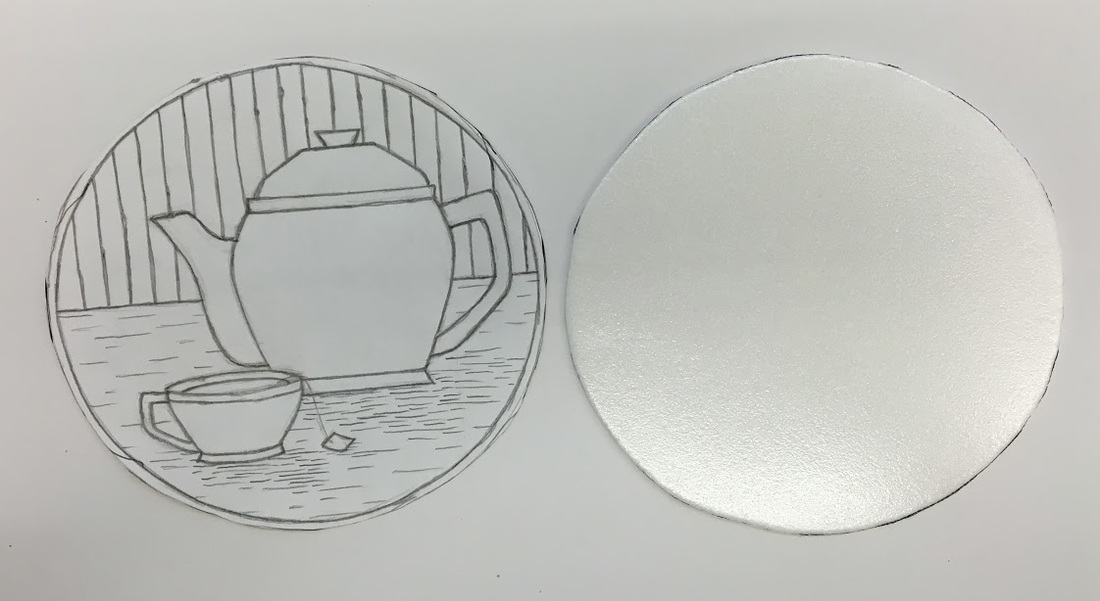
Cut out your drawing and styrofoam.
|
|
Trace around your drawing to cut the styrofoam to the same size.
|
|
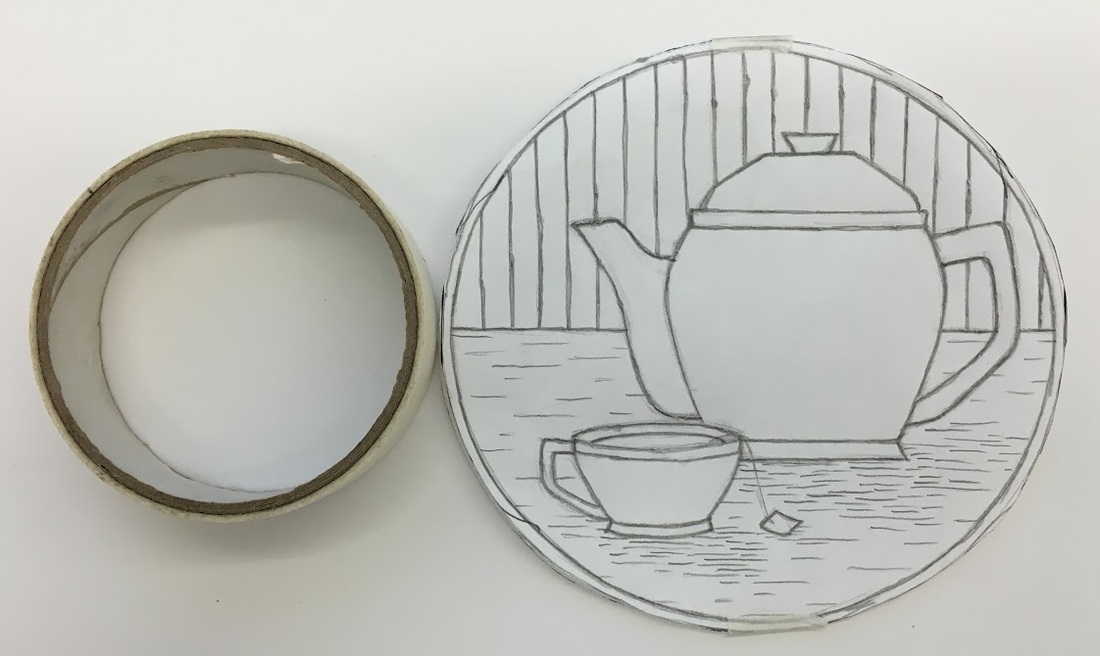
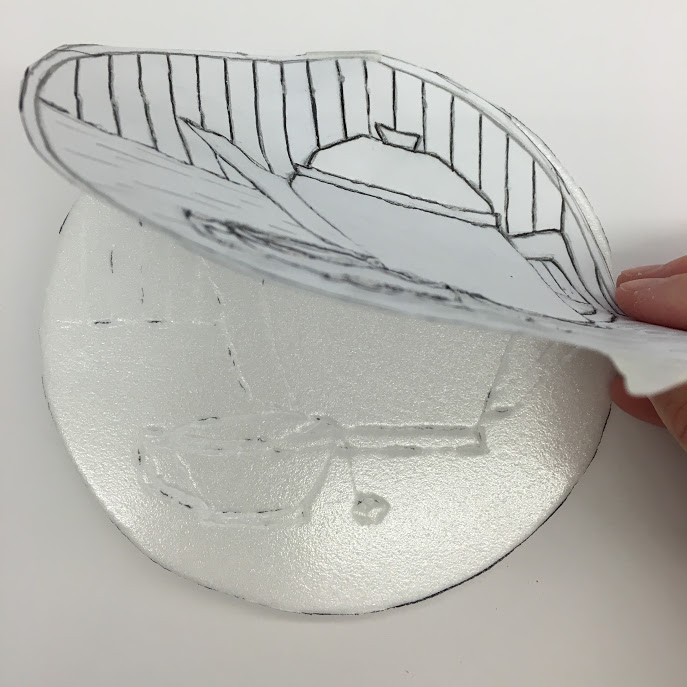
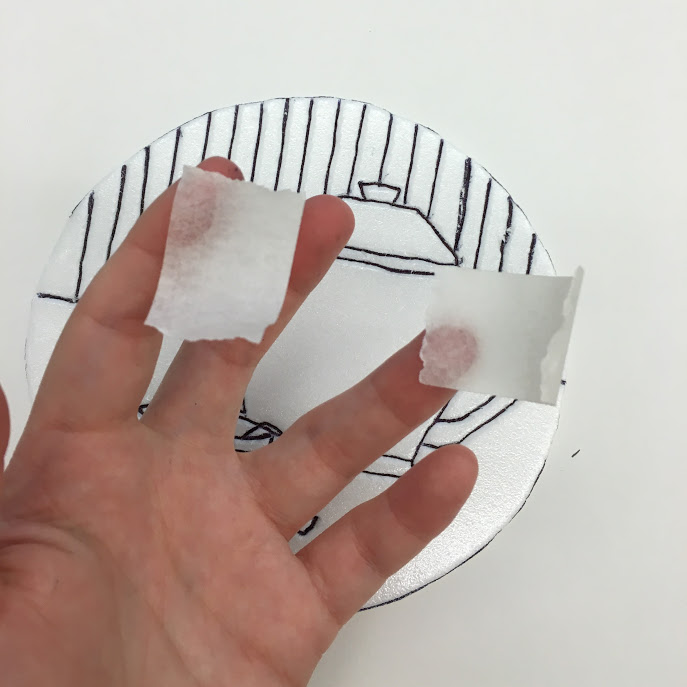
Use a TINY amount of tape to secure your drawing to the styrofoam.
|
|
|
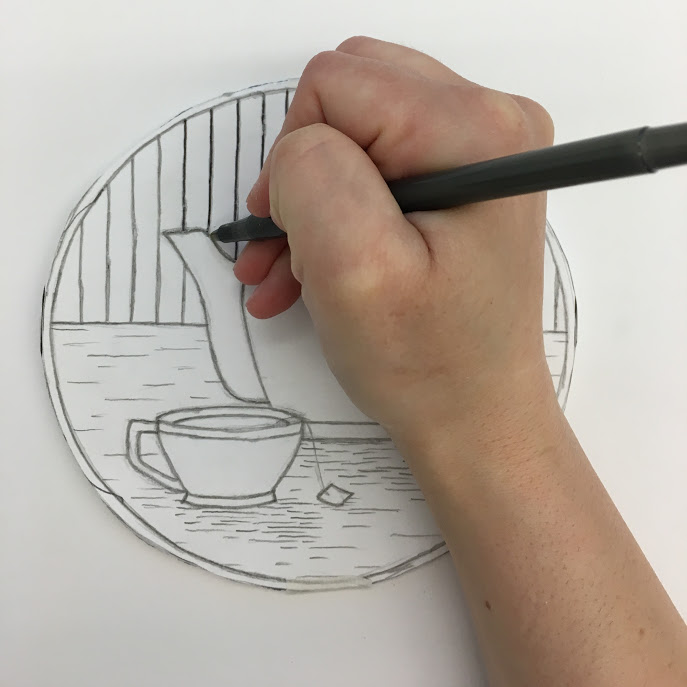
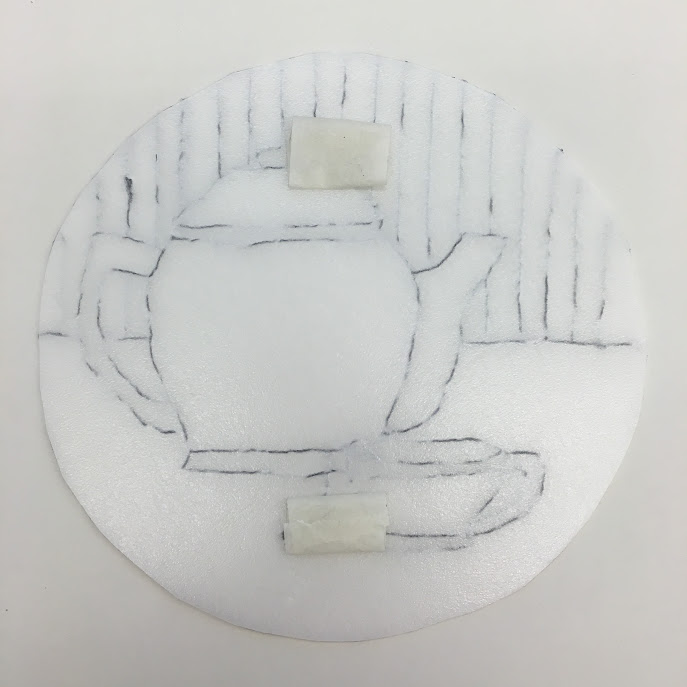
Using a ball point pen, trace over your drawing. It might tear your paper, this is okay.
|
|
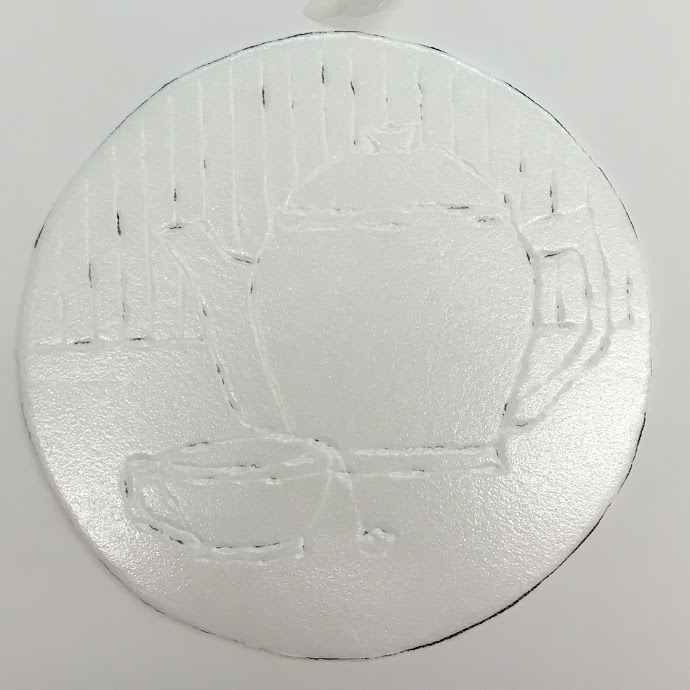
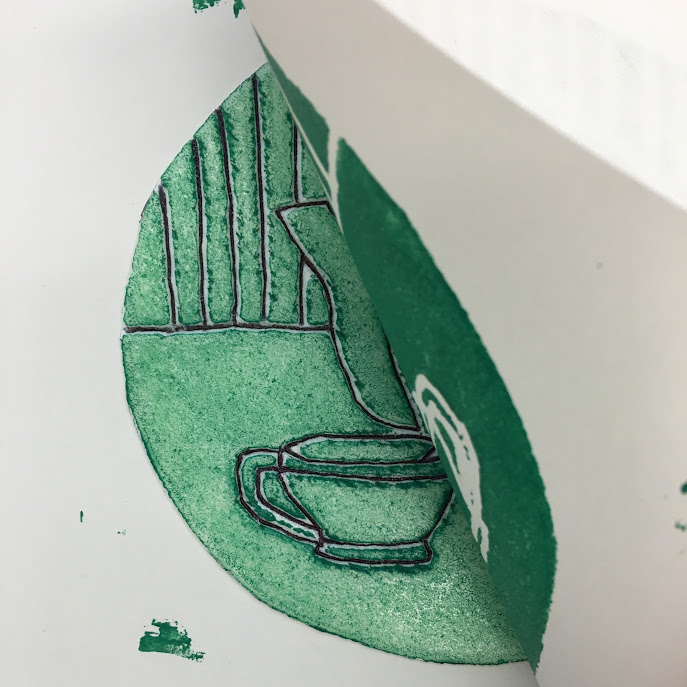
Check to make sure it's making an impression.
|
|
It won't transfer every line completely, just enough to see the lines.
|
|
|
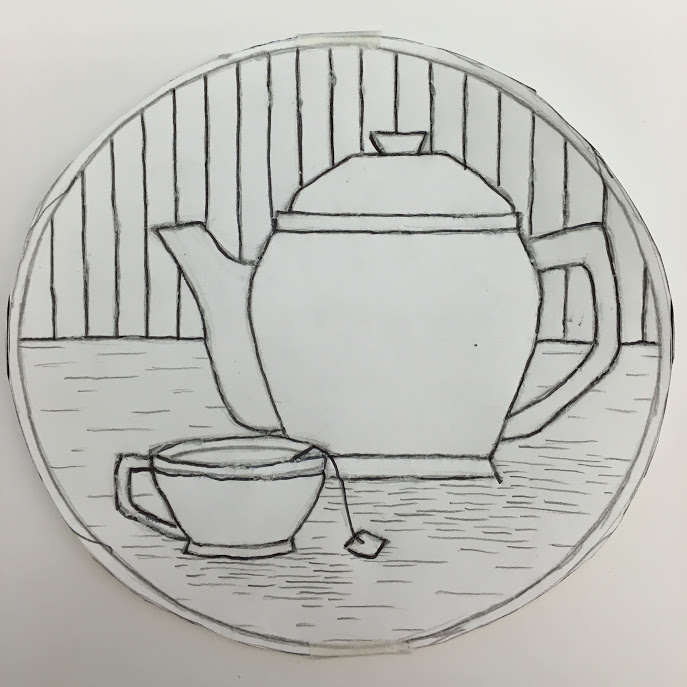
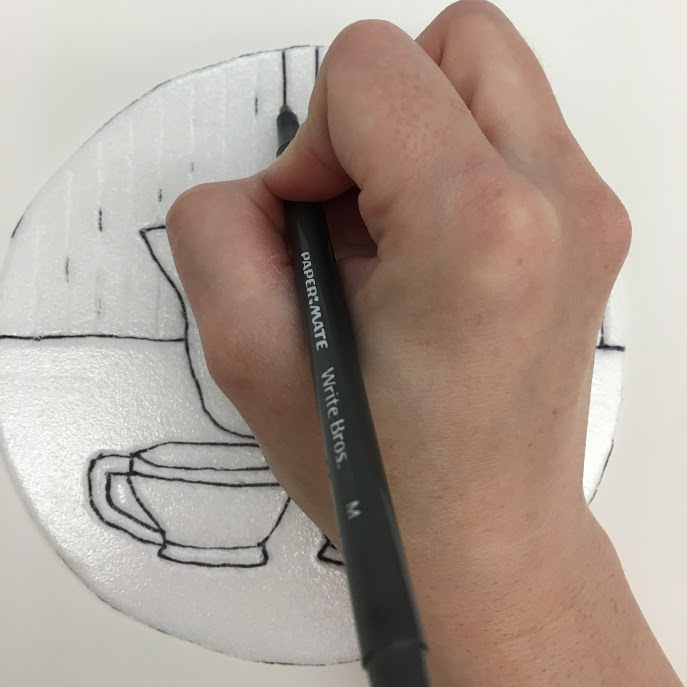
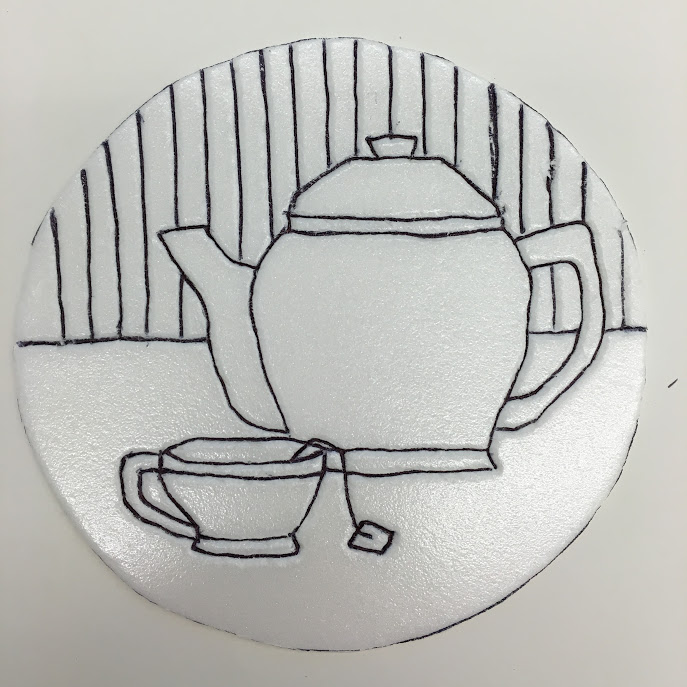
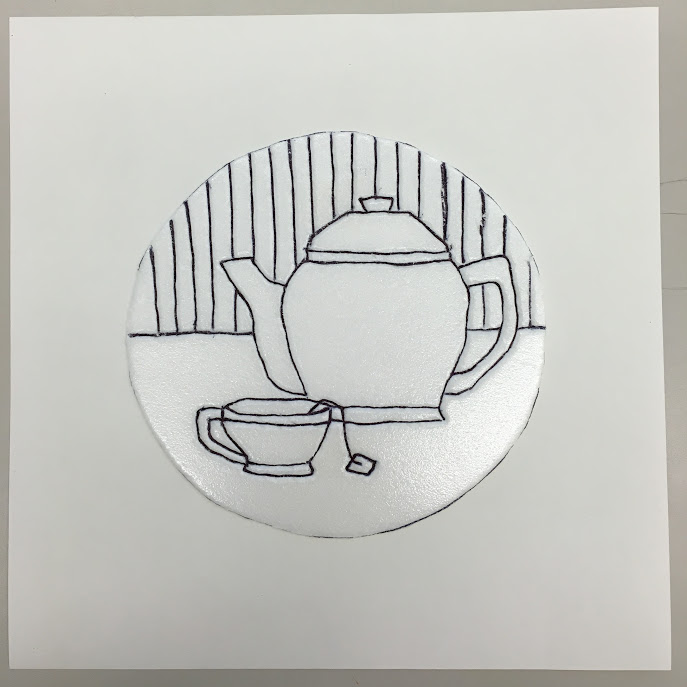
CAREFULLY go over to make the lines deeper into the foam. Hold your pen at an angle to avoid tearing.
|
|
|
Roll 2 small pieces of tape and tape your foam to the large paper in the center.
|
|
Ready to print!
|
2. Printing
|
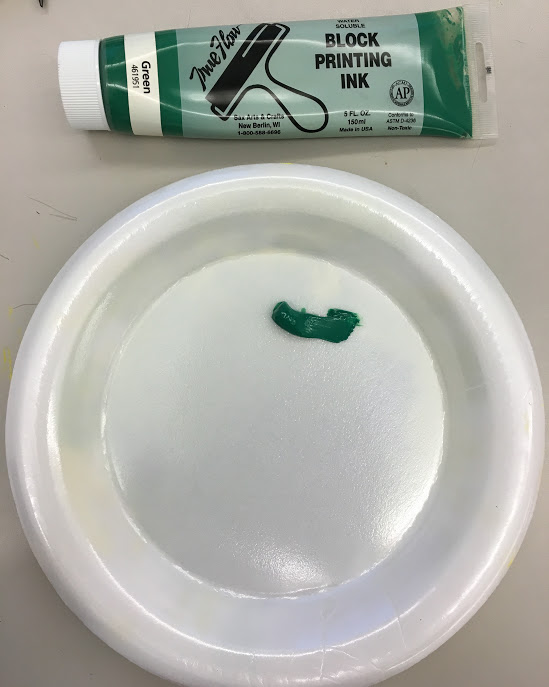
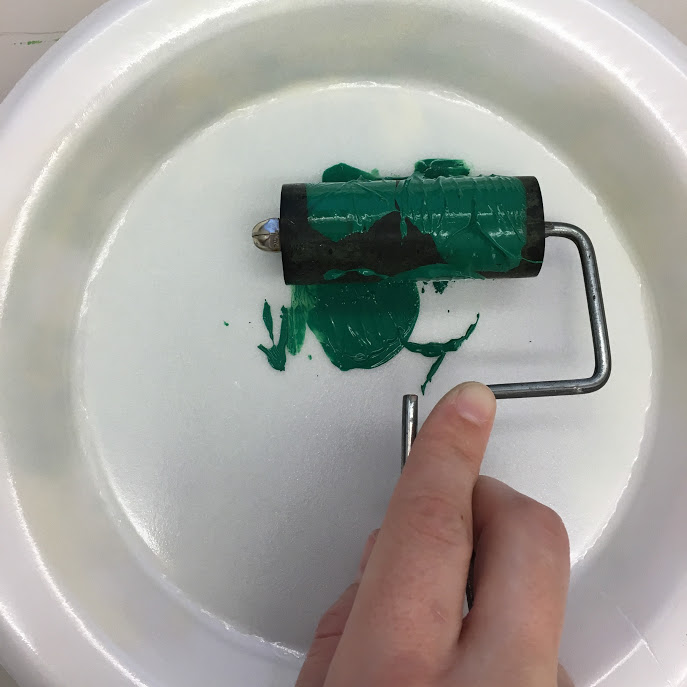
Add a SMALL amount of ink to the plate. You can always add more.
|
|
|
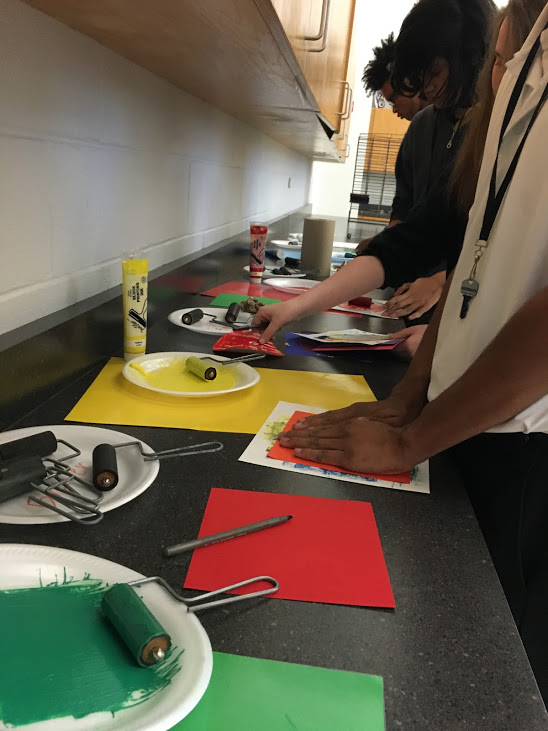
Roll the brayer in the paint. Only roll in ONE DIRECTION. This will give you even coverage.
|
|
|
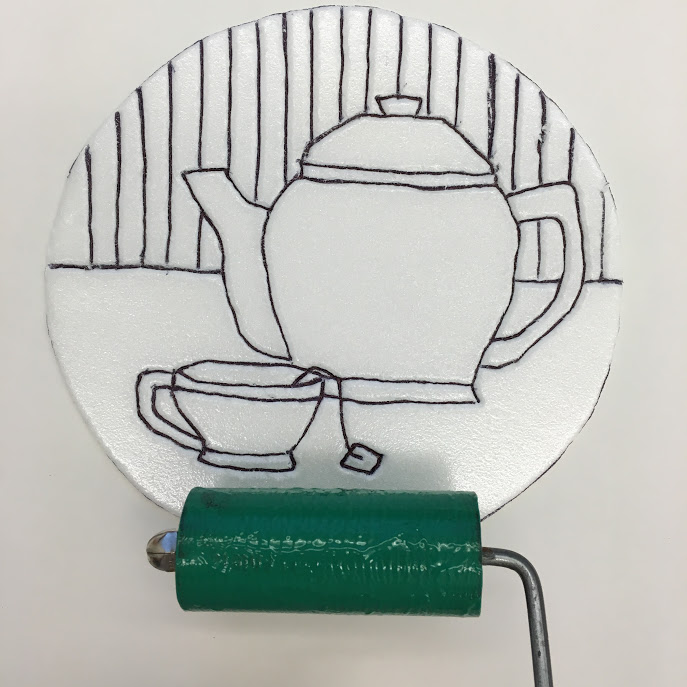
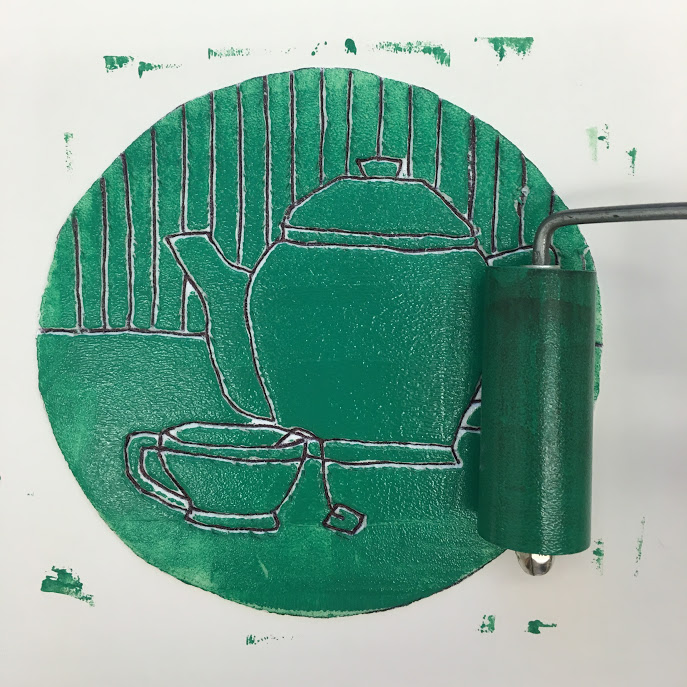
Start at the edge and roll the brayer on the foam in ONE DIRECTION.
|
|
Cover the entire plate, adding more ink to your brayer when needed.
|
|
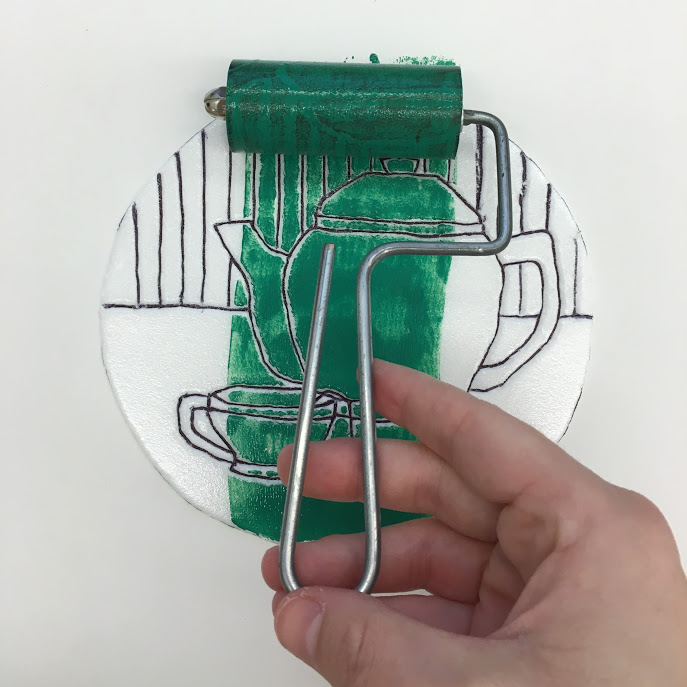
Now roll in the opposite direction. This gives more even coverage.
|

|
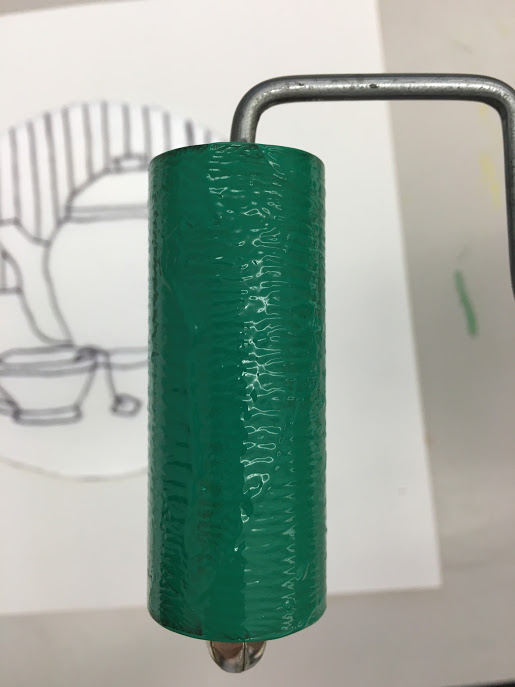
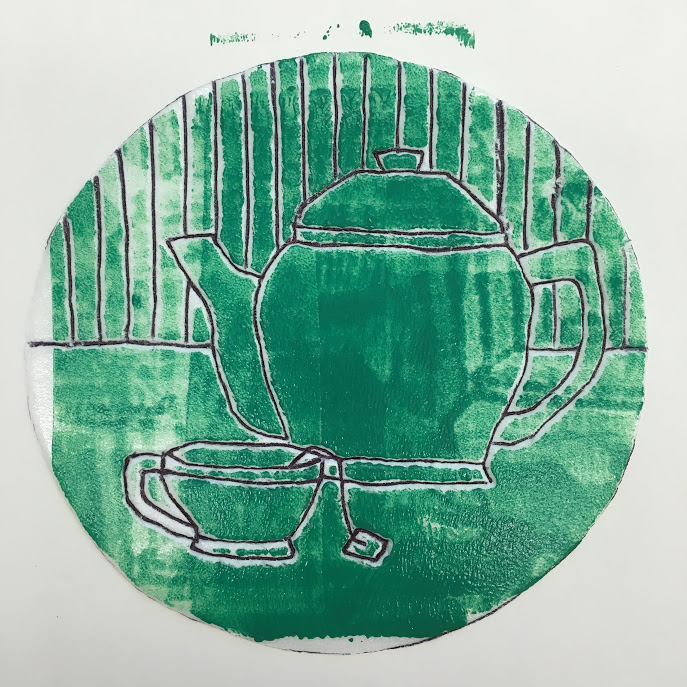
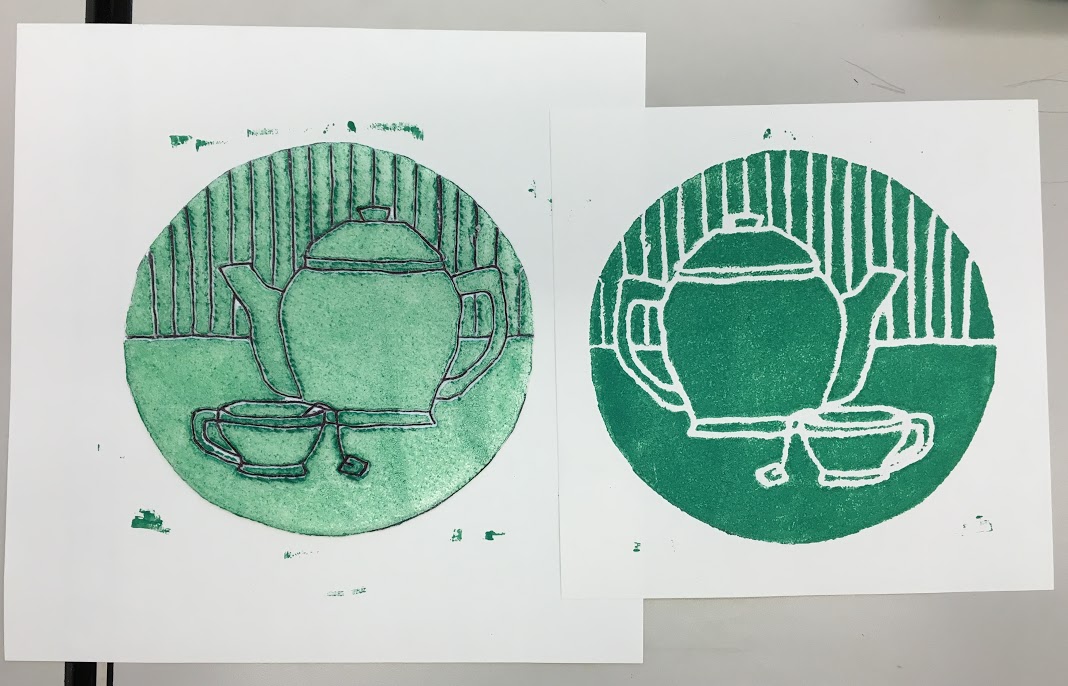
Plate is evenly covered in ink. Print immediately!
|
|

|
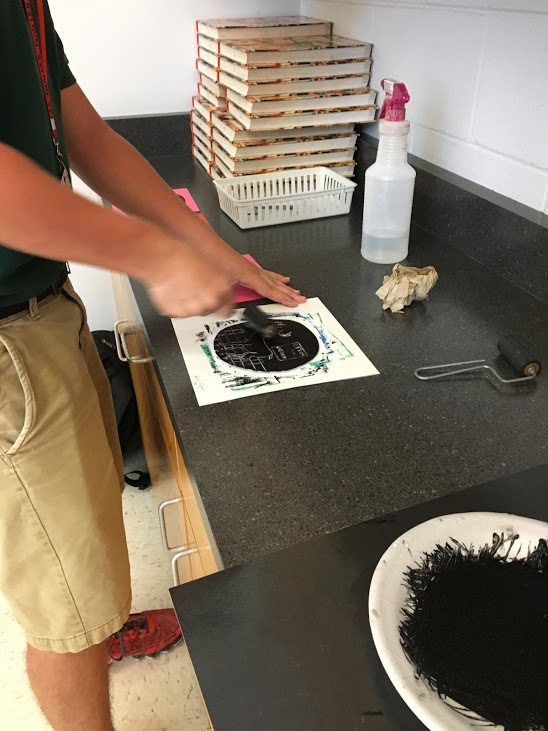
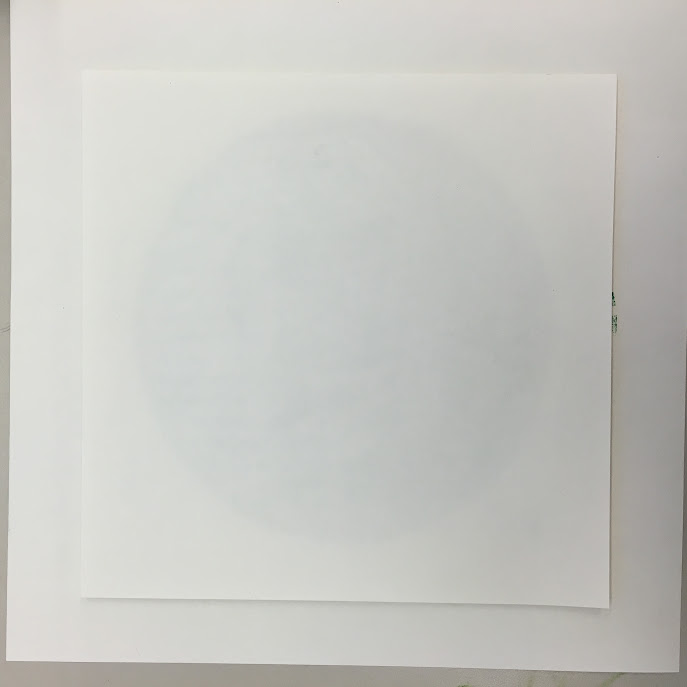
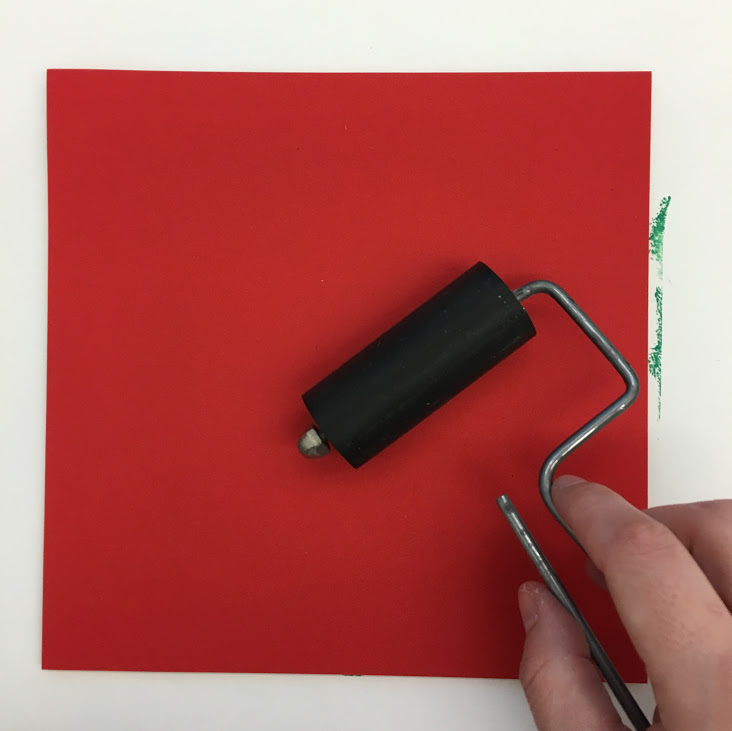
Carefully place your paper over the plate and roll over with a clean brayer.
|
|
|

|
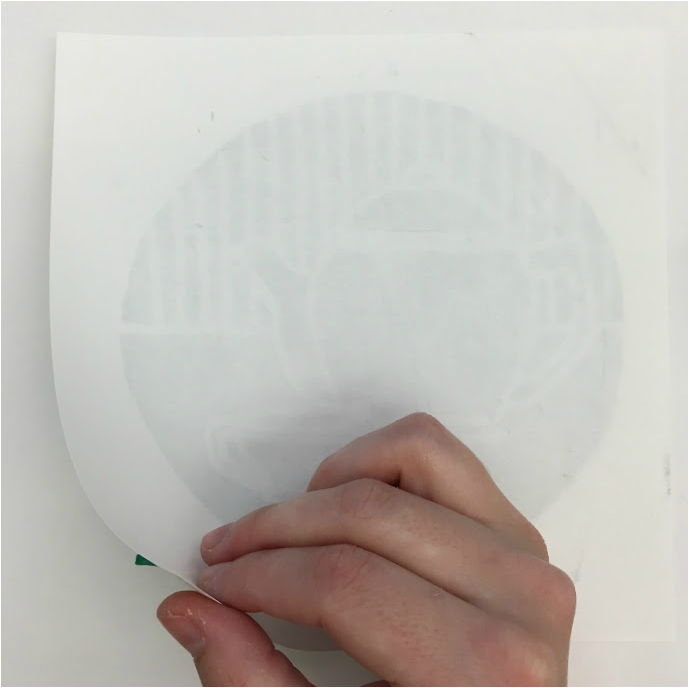
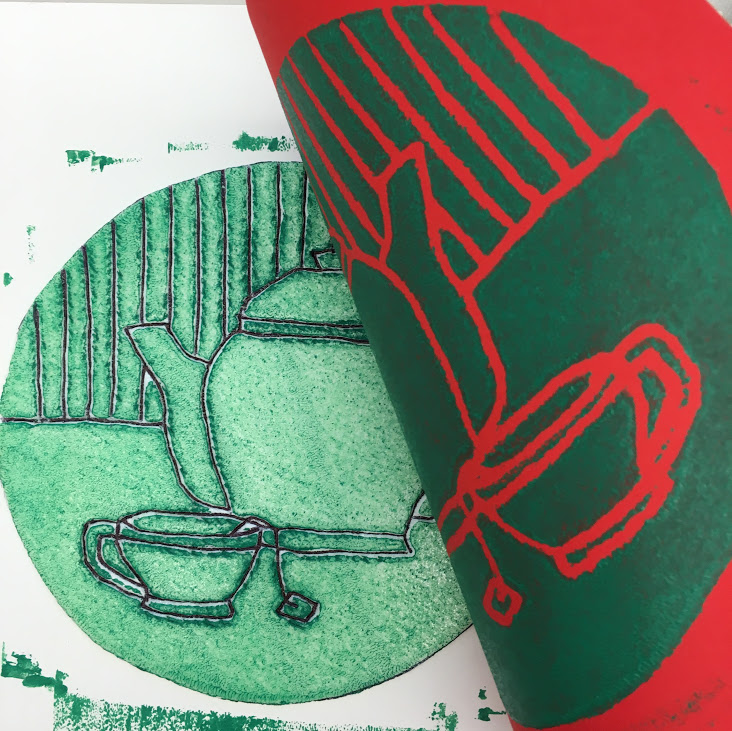
Gently lift your paper off the plate.
|
|
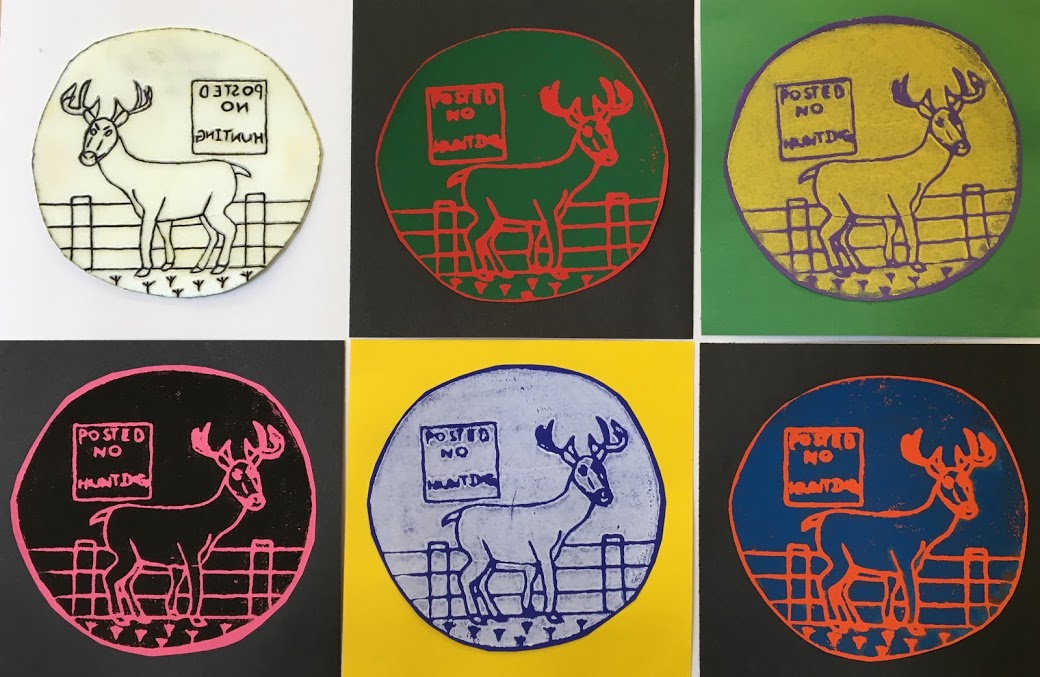
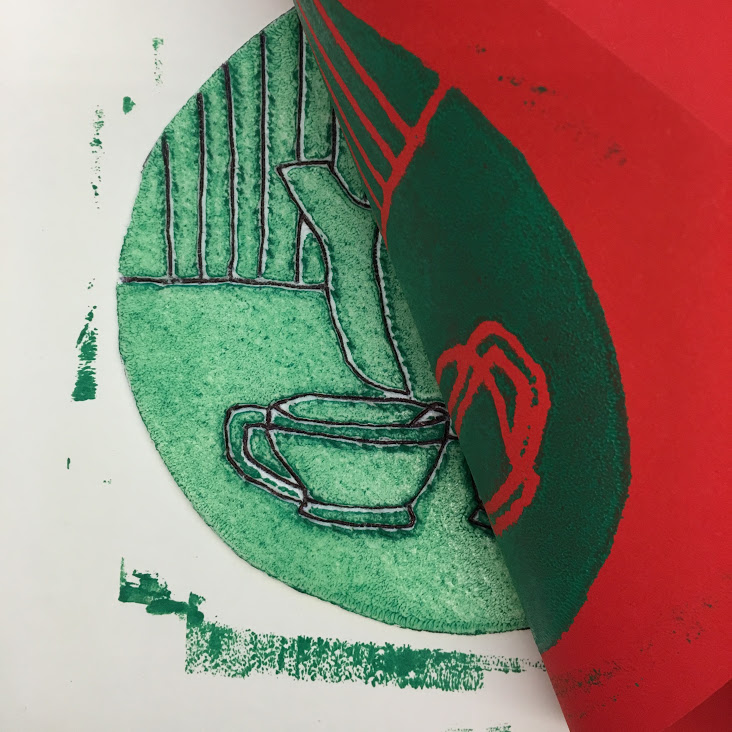
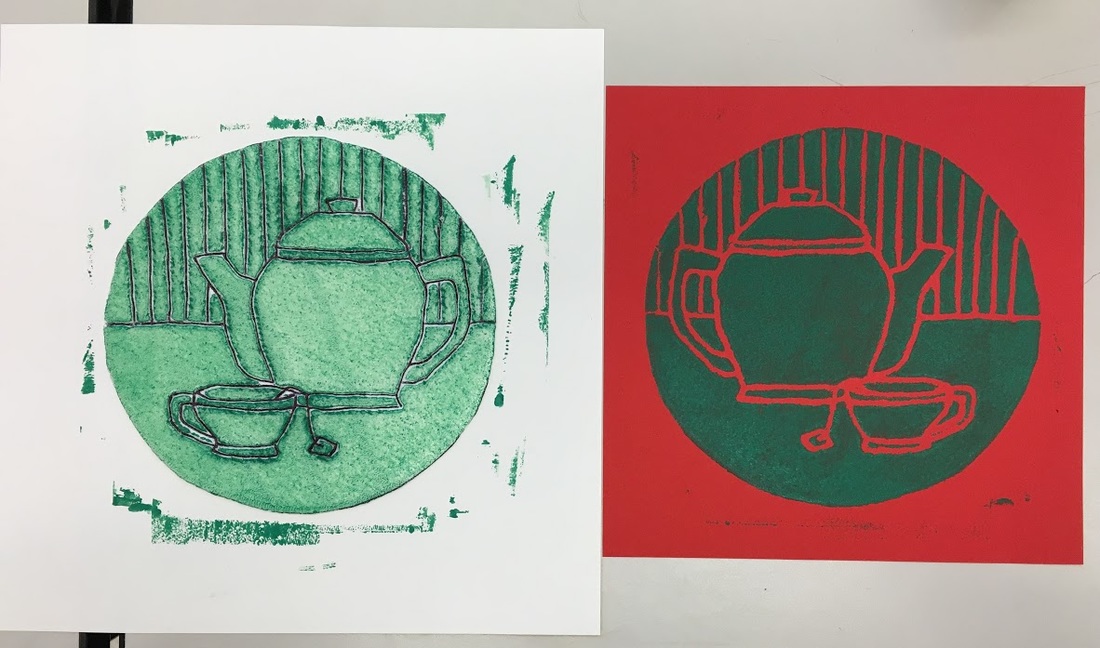
Done! Remember your print will be a mirror image of your drawing.
|
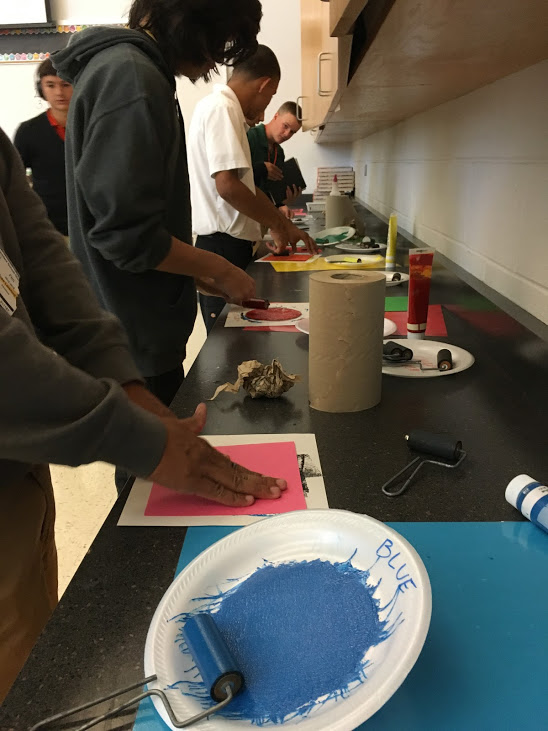
3. same ink on colored paper
|
|
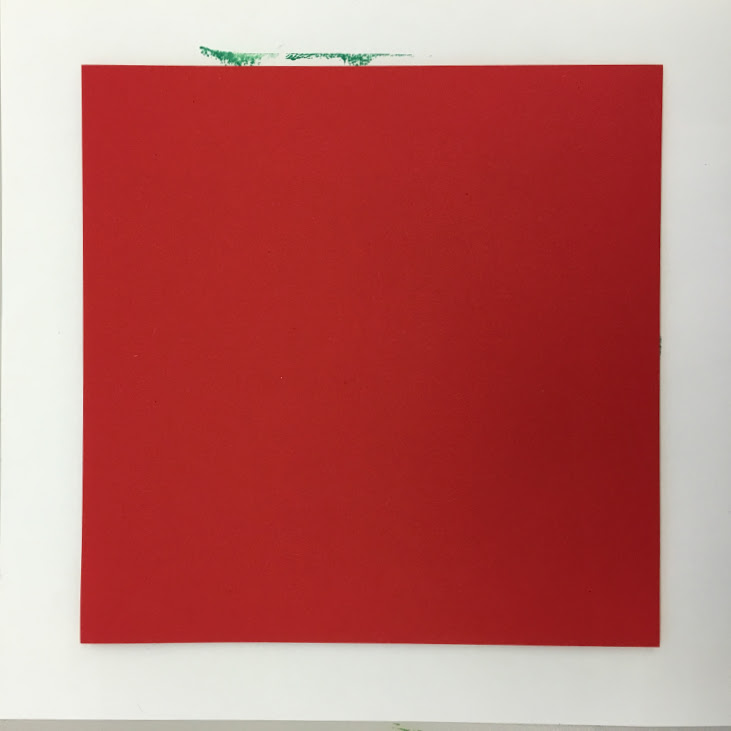
Once you have inked your plate, gently place the colored paper on top. Roll with a clean brayer.
|
|
|
|
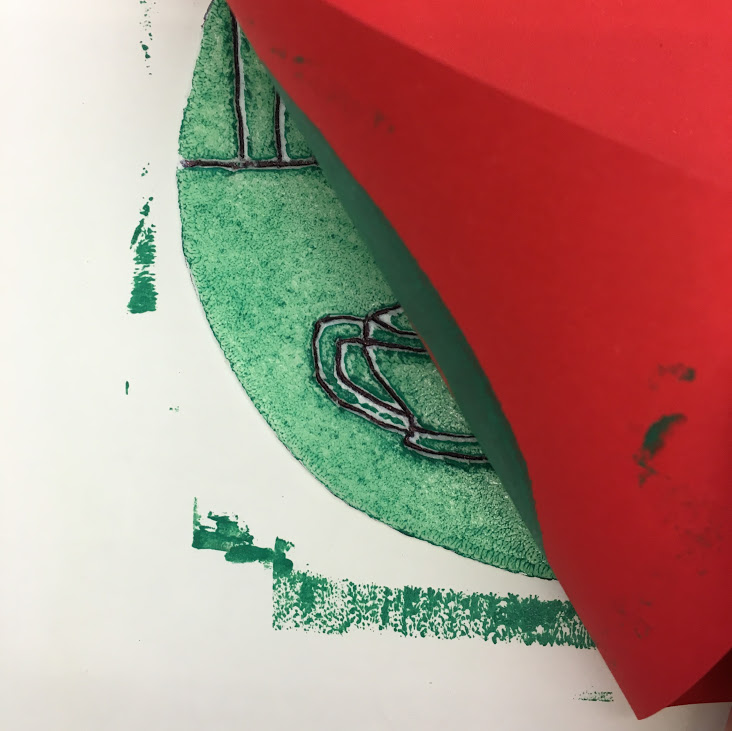
Gently lift off the plate.
|
|
Done!
|
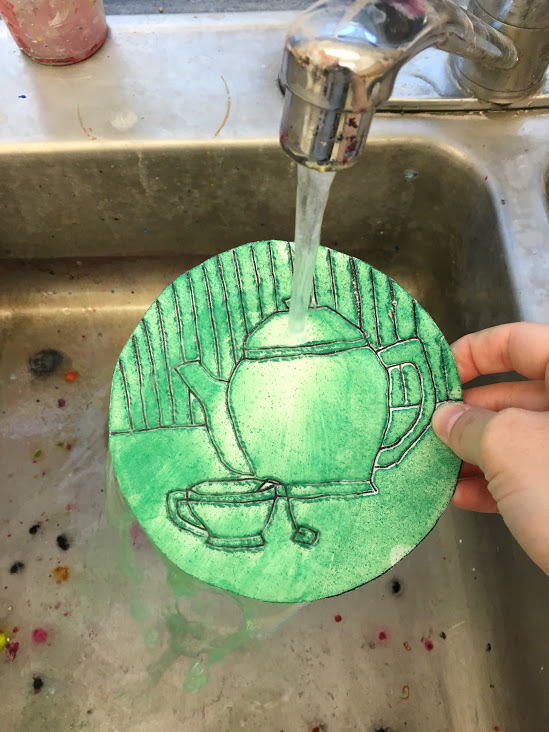
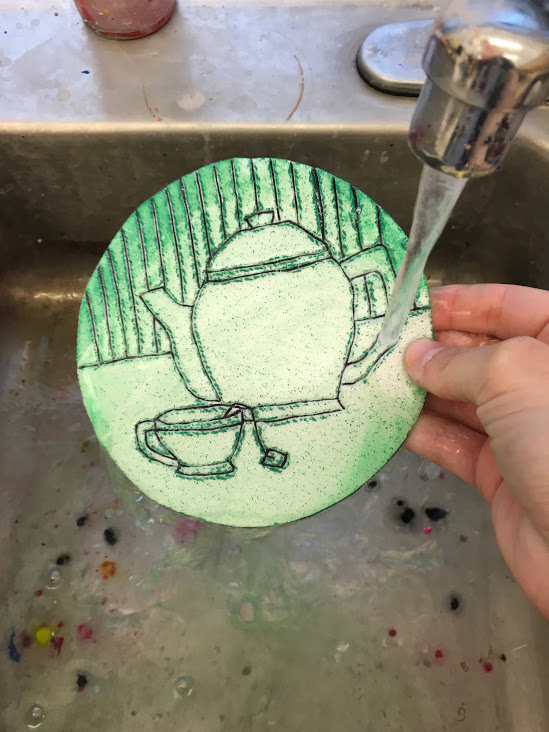
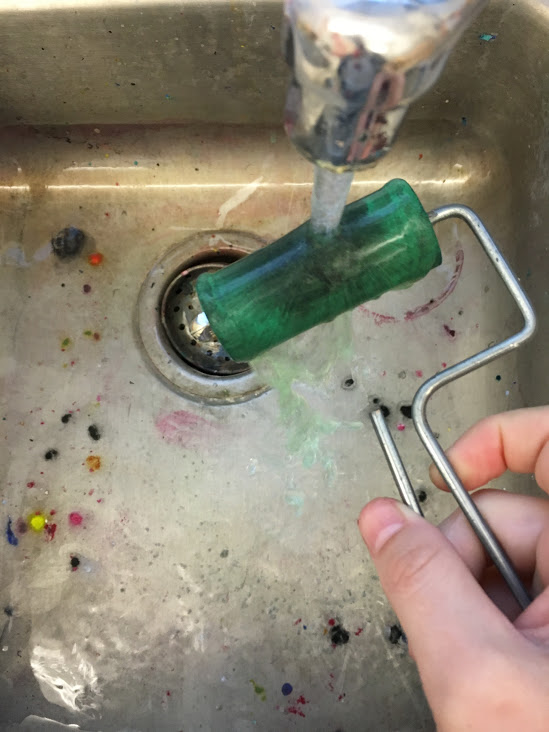
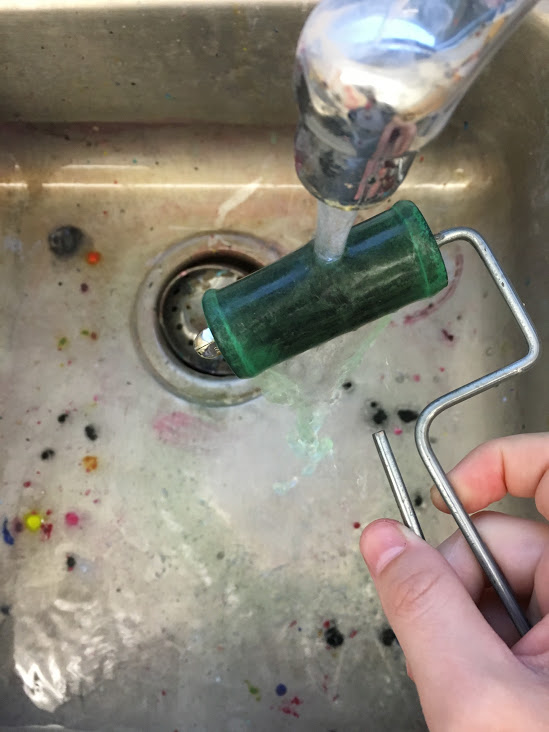
4. cleaning up between colors
|
|
|
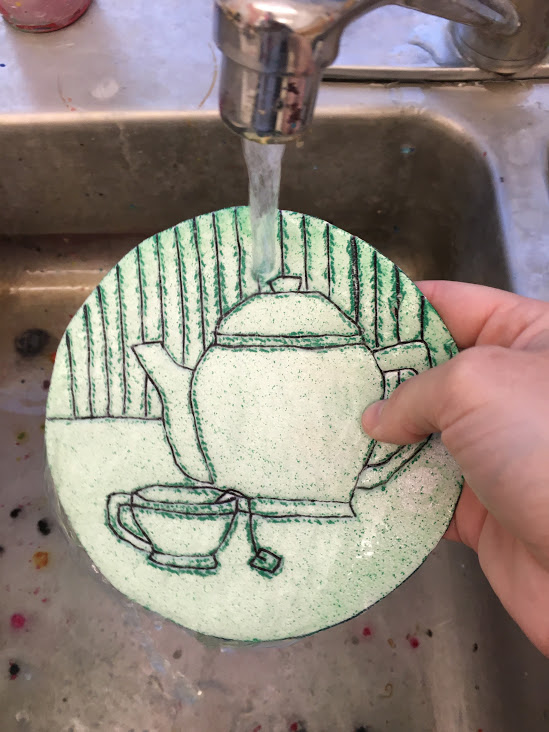
While the ink is still wet, rinse it off with water until it runs clean. The color will stain the styrofoam.
|
|
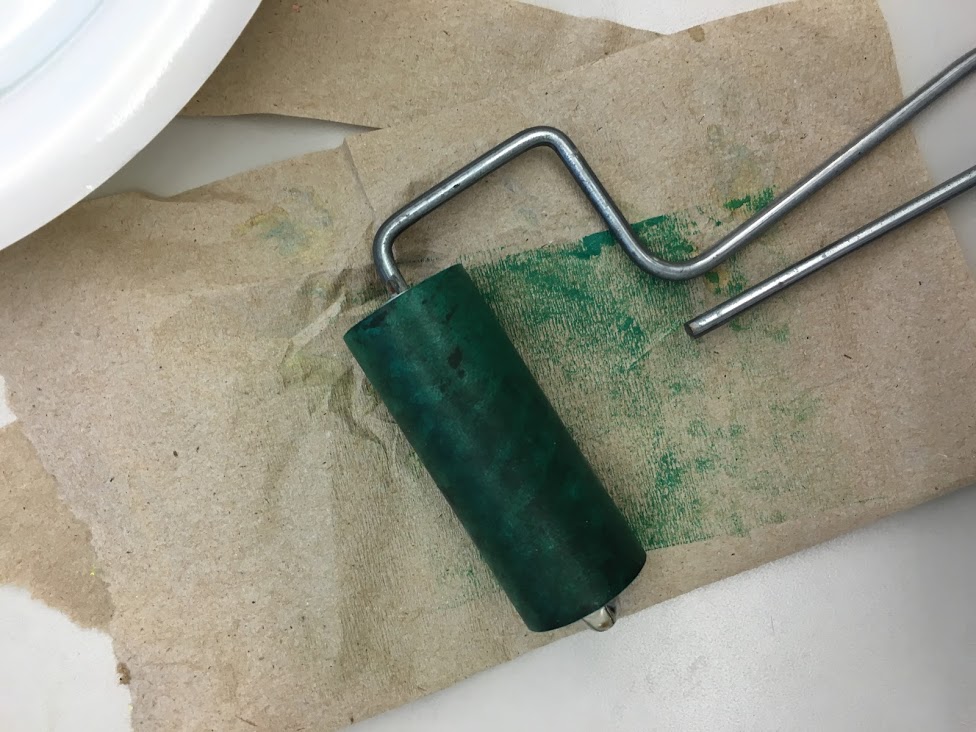
Roll as much excess ink off on a paper towel as you can.
|
|
|
|
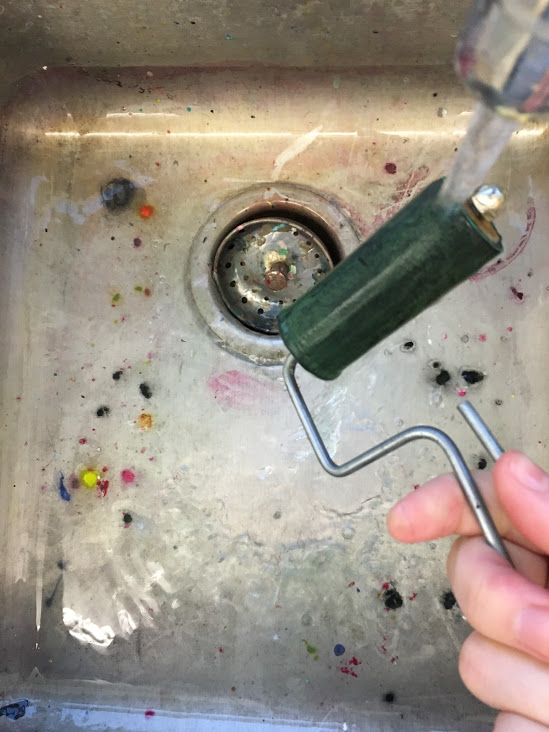
Rinse with water and a little soap.
|
